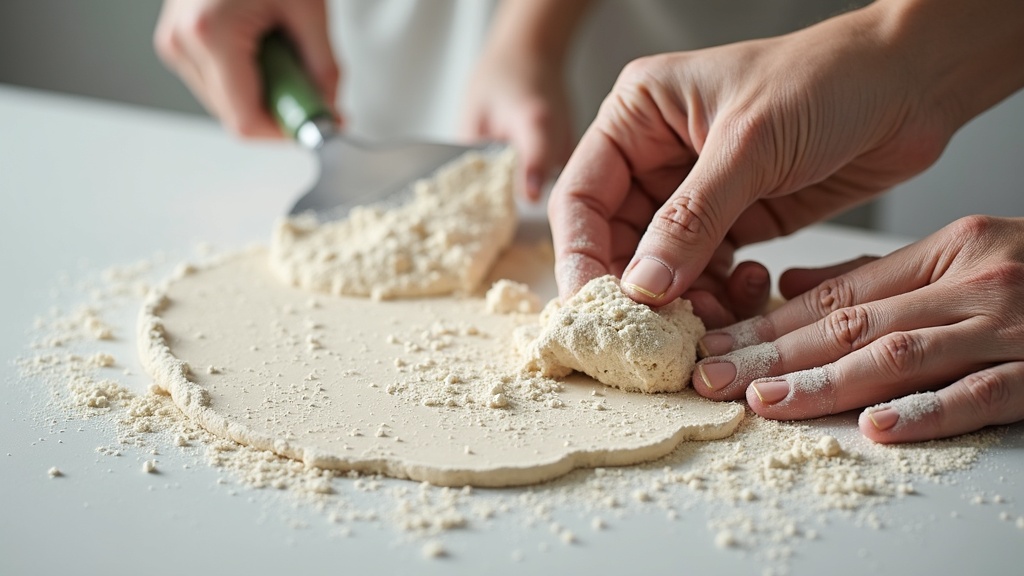
Grout mixing tips for perfect tile and structural results
Learn essential grout mixing techniques for tile work and structural applications, including water ratios, slaking times, and professional methods to avoid common mistakes.
Table of Contents
- What Is Grout Mixing and Why It Matters
- Mastering the Water-to-Powder Ratio
- Mixing Techniques for Consistency
- Slaking and Application Timing
Quick Stats: Grout Mixing
- Sand tile grout: 5 pints of water per 25-pound bag (Tile Outlets of America, 2024)[1]
- Unsanded tile grout: 2.5 pints of water per 10-pound box (Tile Outlets of America, 2024)[1]
- Minimum mixing time: 5 minutes with a mechanical paddle (Big League Construction Services, 2025)[2]
- Slake time: 5 to 10 minutes before remixing and application (RUBI Tools USA, 2025)[3]
Grout mixing might seem straightforward – just add water and stir. But anyone who has dealt with cracked joints, uneven color, or weak structural fill knows that the details matter enormously. Whether you are installing ceramic floor tiles in a bathroom or pumping cementitious grout into a tunnel void in a mining operation, the principles of proper preparation are similar. This article covers the four critical pillars of effective grout mixing: water ratios, mixing techniques, consistency control, and timing. You will also find practical tips and a comparison of methods so you can achieve reliable results every time.
What Is Grout Mixing and Why It Matters
Grout mixing is the controlled blending of dry grout powder with a liquid – usually water – to form a paste that fills joints, anchors bolts, or stabilizes ground. In residential tile work, the goal is a smooth, lump-free paste that cures to a hard, stain-resistant finish. In mining and tunneling, colloidal grout mixing equipment produces high-shear blends that penetrate fine fissures and set with predictable strength. The consequences of poor mixing are consistent across all applications: weak joints, water infiltration, reduced structural integrity, and wasted material. Understanding the science behind the slurry is the first step to avoiding these failures.
Water is the most critical variable. Too much water dilutes the binder, reducing compressive strength and increasing shrinkage cracks. Too little water leaves the mix unworkable, causing voids and poor adhesion. The ideal ratio depends on the grout type and intended use. For instance, sanded tile grout requires more water than unsanded because the aggregate needs lubrication. Structural cementitious grouts often specify a ratio of about two parts powder to one part water by volume (Grounded In Concrete, 2025)[4]. Always check the manufacturer’s data sheet before starting.
Temperature also affects the mixing process. Cold grout mixes thicken and resist spreading, while hot mixes accelerate setting time. Best-practice guidance for cementitious grout placement specifies maintaining grout temperature above 4 degrees Celsius (40 degrees Fahrenheit) during mixing and curing to prevent freezing and strength loss (Big League Construction Services, 2025)[2]. In outdoor or underground environments, pre-conditioning the water or powder may be necessary.
Mastering the Water-to-Powder Ratio
The water-to-powder ratio is the single most important factor in grout mixing. Deviating from the specified amount by even a small margin can ruin a batch. For sanded tile grout, typical manufacturer guidance is to use 5 pints of water per 25-pound bag to achieve proper workability and strength (Tile Outlets of America, 2024)[1]. For unsanded tile grout, the ratio drops to 2.5 pints of water per 10-pound box[1]. These numbers are not guesses – they come from extensive lab testing and field validation.
Many technical guides recommend starting grout mixing with approximately two-thirds of the total required water, adding the remaining one‑third gradually to fine‑tune consistency and avoid over‑watering (Big League Construction Services, 2025)[2]. This approach gives you control. You can stop adding water the moment the mix reaches the correct texture, rather than discovering it is too thin after all the powder is in. Industrial grout mixing systems often incorporate metered water injection to maintain precise ratios batch after batch.
For small DIY projects, a common rule of thumb is to add approximately two quarts of water to a standard 25-pound bag of powdered tile grout, adjusting slightly by product (Bob Vila, 2025)[5]. Many professional tilers follow a three-to-one mixing ratio, using roughly three parts grout powder to one part water by volume for small patch repairs (DIY Doctor, 2025)[6]. Whichever method you choose, measure carefully. Eyeballing water leads to inconsistent results.
Consistency Checks
Visual and tactile checks are essential. The grout should hold its shape when spread with a trowel but still flow easily into joints. As tile and flooring expert Cheryl Chavoustie notes, “Grout mixed for floors should be a smooth peanut-butter consistency, while grout for walls should be a bit thicker, so it doesn’t sag or slump out of the joints” (Bob Vila, 2025)[5]. A simple test: scoop some grout onto the back of your trowel and turn it upside down. If it clings without dripping, the consistency is correct. If it slides off, it is too wet.
Mixing Techniques for Consistency
Technique matters as much as ratio. The order of addition is critical: always put the water in the bucket first and then add the grout powder a little at a time. This prevents dry pockets from forming at the bottom and ensures even hydration. Mixing dry powder first and then adding water traps air and creates lumps that are difficult to break up.
For small batches, a margin trowel or a low-speed drill with a paddle mixer works well. For larger volumes – such as those required in mining or tunneling – specialized equipment like colloidal mixers provides high-shear blending that activates the cementitious properties more thoroughly. The goal is a uniform, lump-free paste. As RUBI Tools USA Technical Team explains, “You should keep mixing grout until there are no lumps and the mix holds its shape when spread” (RUBI Tools USA, 2025)[3]. This typically takes a minimum of five minutes with a mechanical paddle (Big League Construction Services, 2025)[2].
Scrape the sides and bottom of the mixing container periodically to incorporate all dry material. If you are mixing multiple batches, clean the bucket and paddle between each one to avoid introducing set material into fresh grout. For cementitious grouts, begin mixing with about two-thirds of the recommended water and add grout powder slowly. Mix for a minimum of five minutes until the grout is lump‑free, and always adhere to the manufacturer’s specified water ratio to avoid segregation and loss of strength (Big League Construction Services, 2025)[2].
Common Mixing Errors
The most frequent mistake is adding too much water to make the grout easier to spread. Technical Services Manager Brian Adkins warns, “The most common mixing mistake with grout is adding too much water. Always follow the manufacturer’s recommended ratios and mix to a smooth, peanut-butter consistency rather than trying to thin the grout to make it easier to spread” (Tile Outlets of America, 2024)[1]. Another error is mixing too much at once. Tile installation guides typically recommend mixing only one‑quarter to one‑half of a bag of grout at a time for DIY projects, to keep the pot life within workable time and reduce waste (Bob Vila, 2025)[5].
Slaking and Application Timing
Once the grout is mixed to a uniform consistency, it must rest before application. This rest period, called slaking, allows the chemical hydration reaction to begin and the mix to stabilize. The standard practice for tile grout is to allow the freshly mixed grout to slake, resting for about 5 to 10 minutes before remixing and application to improve bonding and performance (RUBI Tools USA, 2025)[3]. During slaking, the grout may appear to stiffen slightly. This is normal. After the rest period, give it a brief remix (without adding more water) to restore workability.
Skipping the slake step can lead to weak joints and inconsistent curing. The chemical reaction needs time to initiate properly. In structural applications, the slake time may be specified by the manufacturer and should be followed exactly. For cementitious grouts used in mining or tunneling, the slake period is often built into the mixing protocol of colloidal equipment, which continuously agitates the slurry to maintain homogeneity until it is pumped into place.
Pot life – the window of time during which the mixed grout remains usable – varies by product and temperature. In hot conditions, pot life shortens. In cold conditions, it extends. Work efficiently and plan your batch sizes accordingly. If the grout begins to stiffen in the bucket, do not add water to revive it. Discard the batch and mix fresh. Re-tempering with water destroys the cured strength and leads to dusting and cracking.
Important Questions About Grout Mixing
How do I know when my grout is mixed to the right consistency?
The ideal consistency for floor grout is a smooth, peanut-butter texture. For wall grout, make it slightly thicker to prevent sagging. A reliable test is to scoop some grout onto the back of your trowel and turn it upside down. If it clings without dripping, the consistency is correct. If it slides off, it is too wet. If it crumbles, it is too dry. Always check the manufacturer’s guidance for your specific product.
Can I mix grout by hand instead of using a drill with a paddle?
Yes, you can mix small batches by hand using a margin trowel or a stiff stirring stick. However, hand mixing takes more effort and may not achieve the same uniformity as a mechanical paddle mixer. For batches larger than a few pounds, a low-speed drill with a paddle attachment is strongly recommended to eliminate lumps and ensure complete hydration. For industrial-scale mixing, colloidal mixers are the standard.
What happens if I use too much water in my grout mix?
Adding too much water dilutes the cementitious binder, which reduces compressive strength and increases the likelihood of shrinkage cracks. The grout may also appear chalky or dusty after curing. In tile work, excess water can cause the grout to sag out of vertical joints and lead to uneven color. Always measure water carefully and add it gradually. If you accidentally add too much, discard the batch and start over – do not try to compensate by adding more powder.
How long should I let grout slake before applying it?
Standard practice is to let the mixed grout slake for 5 to 10 minutes. This rest period allows the chemical hydration to begin, improving bond strength and workability. After slaking, give the grout a brief remix (without adding water) and then apply it. Do not skip this step, as it directly affects the final performance of the grout. For structural cementitious grouts, follow the manufacturer’s specified slake time exactly.
Comparison of Grout Mixing Methods
Different projects call for different mixing approaches. The table below compares the most common methods used in tile work and construction, from manual hand mixing to high-shear colloidal systems.
| Method | Best For | Typical Batch Size | Mixing Time | Uniformity |
|---|---|---|---|---|
| Hand mixing with trowel | Small DIY repairs | 1–2 pounds | 5–10 minutes | Moderate |
| Drill with paddle mixer | Residential tile projects | 5–25 pounds | 3–5 minutes | High |
| Colloidal mixer (high-shear) | Mining, tunneling, structural grouting | 50–500+ pounds | 2–4 minutes | Very high |
Each method has trade-offs. Hand mixing is slow and labor-intensive but requires no special equipment. A drill with a paddle is the standard for most tile work, offering a good balance of speed and quality. Colloidal mixers are the choice for large-scale industrial applications where consistency and throughput are critical.
Practical Tips for Better Grout Mixing
These actionable tips will help you achieve professional results every time you mix grout, whether you are working on a bathroom floor or a tunnel lining.
- Always measure water precisely. Use a graduated bucket or measuring cup. Never guess. The difference of a few ounces can change the entire character of the mix.
- Add powder to water, not the reverse. Pouring water onto dry powder traps air and creates lumps. Always put the water in the bucket first, then add the powder gradually while mixing.
- Respect the slake time. Let the mixed grout rest for 5–10 minutes before remixing and applying. This improves bond strength and reduces the risk of cracking.
- Mix only what you can use within the pot life. For DIY work, mix one-quarter to one-half of a bag at a time. This prevents waste and ensures the grout is still workable when you apply it.
- Use cool, clean water. Hot water accelerates setting and reduces pot life. If your water is above 80°F (27°C), chill it with ice cubes before mixing.
- Keep equipment clean. Residual set grout on paddles or buckets can contaminate fresh batches. Wash all tools immediately after use.
Key Takeaways
Grout mixing is a precise process that directly affects the quality and longevity of tile installations and structural grouting. The three pillars are correct water ratio, thorough mixing technique, and proper slaking. Always follow manufacturer specifications, measure water accurately, and avoid shortcuts like adding extra water to improve spreadability. By mastering these fundamentals, you can avoid common failures such as cracking, weak joints, and inconsistent color. For more detailed guidance on equipment and techniques, visit our SEO article writing resource or check out our about SEO marketing page.
Useful Resources
- Grout and Thinset Mixing Best Practices. Tile Outlets of America.
https://www.tileoutlets.com/blog/grout-and-thinset-mixing-best-practices/ - Best Practices for Cementitious Grout Preparation and Placement. Big League Construction Services.
https://bigleaguecs.com/best-practices-for-cementitious-grout-preparation-and-placement/ - How to Mix Grout Perfectly Every Time. RUBI Tools USA.
https://www.rubi.com/us/blog/how-to-mix-grout/ - How Should Grout Be Mixed?. Grounded In Concrete.
https://groundedinconcrete.com/how-should-grout-be-mixed/ - How to Mix Grout the Right Way. Bob Vila.
https://www.bobvila.com/articles/how-to-mix-grout/ - How To Mix Grout (Video). DIY Doctor.
https://www.youtube.com/watch?v=kX7dozIDEs4