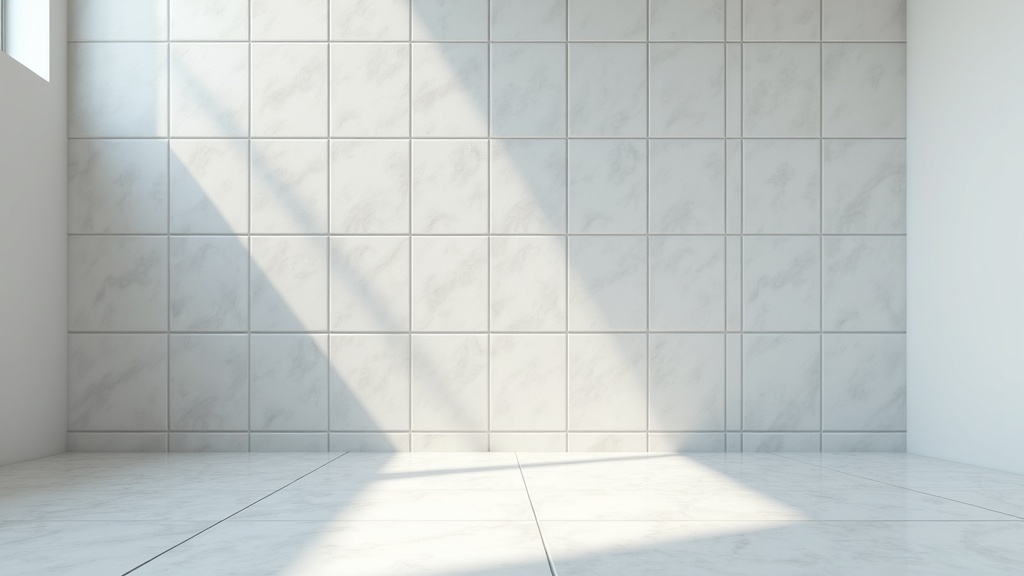
Epoxy Grout for Shower Installation Guide
Discover why epoxy grout for shower projects is the top choice for outdoor and indoor bathrooms. Learn installation tips, durability facts, and maintenance.
Table of Contents
- Key Takeaway
- Market Snapshot
- Introduction
- The Science Behind Resin-Based Tile Joints
- Installation Nuances and Workable Time
- Why Choose Epoxy Grout for Shower Projects
- Long-Term Maintenance and Color Stability
- Important Questions About Epoxy Grout for Shower
- Material Comparison
- Practical Tips
- Before You Go
Key Takeaway
Epoxy grout for shower applications is a highly durable, waterproof sealing compound made from epoxy resins and filler powders. It provides superior stain resistance and structural integrity for wet environments, outperforming traditional cement-based alternatives in both indoor and outdoor garden shower installations.
Market Snapshot
- Global market valued at 632.87 million USD in 2023 (SkyQuest Technology Group, 2024)[1].
- Projected to reach 1042.29 million USD by 2032 (SkyQuest Technology Group, 2024)[1].
- Properly installed two-part formulas can remain durable for up to 20 years (Reddit r/Tile community, 2024)[2].
- Experienced installers report a workable time of about 45 minutes (Facebook Tile Installers group, 2025)[3].
Introduction
Epoxy grout for shower installations demands careful planning, especially when building outdoor wash stations near ornamental trees or renovating indoor bathrooms. Choosing the right sealing compound ensures your tile joints remain impervious to water, soil, and organic debris. Unlike traditional cementitious options, resin-based formulas do not absorb moisture, making them ideal for high-moisture areas. This article covers the chemical benefits, installation nuances, and long-term maintenance of these advanced materials. Whether you are tiling a greenhouse sink or a primary bathroom, understanding the properties of epoxy grout for shower environments will help you achieve a lasting, professional finish.
The Science Behind Resin-Based Tile Joints
Epoxy shower grout relies on a chemical reaction between resin and hardener to create an impermeable seal. When mixed, these components bind with filler powders to form a dense, non-porous matrix. This structure provides exceptional waterproofing and prevents moisture penetration into the underlying substrate. Ron Nash, President & Chief Executive Officer of LATICRETE International, notes that these formulations offer enhanced durability, stain resistance, and strength compared to traditional cement grout, making them ideal for kitchens, bathrooms, pools, and other high-moisture areas (LATICRETE, 2025)[4].
For gardeners and landscapers building outdoor showers, this non-porous nature is critical. Runoff containing dirt, mulch, and decaying leaves from ornamental trees cannot penetrate the tile joints. Consequently, the risk of biological growth within the grout lines is virtually eliminated. While porcelain tiles and ceramic tiles are naturally resistant to water, the joints between them are the weakest point in any wet area. By utilizing a resin-based compound, contractors ensure the entire tiled surface acts as a unified, waterproof barrier. For landscaping businesses offering these specialized outdoor builds, mastering search engine optimization for sales can help attract high-end hardscaping clients looking for premium garden features.
Installation Nuances and Workable Time
Applying shower epoxy grout demands precision and strict adherence to timing constraints. The chemical curing process begins immediately upon mixing, giving installers a limited window to spread the material and clean the tiles. Experienced professionals report a workable time of about 45 minutes before the mixture becomes noticeably harder to apply and clean (Facebook Tile Installers group, 2025)[3]. Because of this rapid setup, it is crucial to mix only small batches that can be applied within this timeframe.
The mixing process itself requires specific tools. Unlike the high-shear equipment detailed in this colloidal grout mixing equipment guide used in mining and tunneling to suspend heavy cementitious particles, shower tile epoxy requires a low-speed paddle mixer. High speeds will whip air bubbles into the resin, creating pinholes in the finished joints. Once mixed, the material is forced into the joints using a firm rubber float, followed by a squeegee to remove excess.
Haze removal is the most critical step. If the resinous film is not washed off the tiles before it cures, it becomes nearly impossible to remove. A veteran tile installer with over 20 years of experience warns that it takes more skill to install, and for DIYers with limited experience, the possibilities of what could go wrong far exceed any potential benefit (Facebook Tile Installers group, 2025)[3]. Proper ventilation and temperature control are also vital, as extreme heat accelerates the curing time, while cold slows it down.
Why Choose Epoxy Grout for Shower Projects
The primary advantage of epoxy grout in showers is its exceptional resistance to cracking, shrinkage, and biological growth. Cement-based alternatives naturally shrink as they dry, leading to micro-fractures that allow water to reach the backer board. Resin formulas do not shrink during the curing process, maintaining a tight seal against the tile edges. The Tile Doctor Technical Team emphasizes that showers can be one of the toughest environments for grout, and that is precisely why epoxy is the best choice: it resists cracking, shrinkage, and moisture penetration far better than cement-based alternatives (The Tile Doctor, 2025)[5].
This structural integrity is particularly beneficial for shower floors, which endure constant foot traffic and standing water. Shower floor epoxy grout remains flexible enough to handle minor substrate movements without fracturing. Furthermore, because the material is completely non-porous, it does not require a topical sealant. This eliminates the recurring maintenance of reapplying penetrating sealers every few years. While natural stone tiles might require pre-sealing to prevent the resin from staining the stone, the grout itself remains permanently protected against water damage and chemical degradation from harsh cleaning agents.
Long-Term Maintenance and Color Stability
Maintaining epoxy tile grout for showers requires less effort than cementitious alternatives, though it is not entirely maintenance-free. A common misconception is that resin joints will never get dirty. In reality, while mold and mildew cannot penetrate the grout, they can still grow on the surface if soap scum and body oils are allowed to accumulate. Homeowners should clean the surfaces regularly with mild, non-abrasive cleaners to prevent this superficial buildup.
Color stability is another significant benefit. Traditional grout often discolors over time due to water absorption and cleaning chemicals. Resin-based formulas lock in their pigment, ensuring consistent color stability for decades. One professional installer reports that properly installed two-part formulas in residential showers can remain durable and color-stable for up to 20 years (Reddit r/Tile community, 2024)[2]. This longevity makes it a cost-effective choice over the lifespan of the bathroom. If you run a garden design blog and want to share your outdoor shower projects, knowing how to optimize your site for SEO ensures your hard work reaches a wider audience of home improvement enthusiasts.
Important Questions About Epoxy Grout for Shower
Is the grout slippery when wet?
Can I apply it over existing cement grout?
Will it turn yellow in an outdoor garden shower?
How do I remove haze from the tiles?
Material Comparison
Selecting the right joint filler requires understanding how different materials perform under constant water exposure. Each type offers distinct advantages depending on the specific demands of the installation environment and the skill level of the installer.
| Feature | Epoxy | Cementitious | Urethane |
|---|---|---|---|
| Water Resistance | Impervious | Absorbent | Highly Resistant |
| Stain Resistance | Excellent | Poor (unless sealed) | Very Good |
| Installation Difficulty | High | Low | Medium |
| Curing Time | 24-48 hours | 24-72 hours | 7 days |
Practical Tips
Successful application relies on preparation and environmental control. Always read the manufacturer’s instructions regarding the ceramic tile installation guidelines to ensure compatibility with your specific tile type. Before mixing, dry-fit your tools and ensure the tile joints are completely free of dust, thinset residue, and moisture.
When working in outdoor garden showers, schedule the installation for a mild, overcast day. Direct sunlight and high ambient temperatures will drastically reduce the workable time, causing the resin to stiffen in the bucket before you can spread it. Conversely, if the temperature drops below 60°F (15°C), the curing process will stall, leaving the joints soft and vulnerable to washout.
Keep multiple buckets of clean water and dedicated sponges on hand. Change the cleaning water frequently; using dirty water will simply smear the resinous film across the tiles, creating a stubborn haze. Finally, protect the freshly grouted area from rain, foot traffic, and falling debris from nearby ornamental trees for at least 48 hours to allow for a complete chemical cure.
Before You Go
Upgrading your wet areas with epoxy grout for shower projects ensures a durable, waterproof, and stain-resistant finish that outlasts traditional materials. While the installation requires more skill and strict timing, the long-term benefits of zero shrinkage and superior color stability make it a worthwhile investment for both indoor bathrooms and outdoor garden wash stations. Ready to design your next outdoor retreat? Explore our favorite garden hardscaping and outdoor showers to bring your vision to life.
Sources & Citations
- Global epoxy grout market size and projections. SkyQuest Technology Group.
https://www.skyquestt.com/report/epoxy-grout-market - Best epoxy grout? Reddit r/Tile community.
https://www.reddit.com/r/Tile/comments/14i9xm8/best_epoxy_grout/ - Disadvantages of epoxy tile grout. Facebook Tile Installers group.
https://www.facebook.com/groups/914910123318959/posts/1119748546168448/ - Everything You Need to Know About Epoxy Grout. LATICRETE International.
https://www.laticrete.com/blog/2025/june/everything-you-need-to-know-about-epoxy-grout - Best Grout to Use in a Shower? Epoxy, of Course. The Tile Doctor.
https://www.facebook.com/TheTileDoctor/videos/best-grout-to-use-in-a-shower-epoxy-of-course-showers-can-be-one-of-the-toughest/2033774927101302/